We try wxPython
It makes pretty decent GUIs

No. 32
Last week we looked at PySimpleGUI, which is just what it sounds like, and clearly not industrial strength. This week we studied wxPython, a complete, fully object-oriented GUI development system. The wxPython package has a pretty complete set of features, but you have to look through a lot of articles on a lot of web sites to discover how to use them.
The basic overview of wxPython is a decent place to start, and it has a generic app, showing “Hello world” in a window. But, in general the docs on the wxPython site are difficult to use, because most of the code does not have accompanying screen grabs to show you what they do.
WxPython is the Python library that uses wxWidgets, which is a set of cross-platform tools written in C++, with bindings to Python, Perl, Ruby and other languages, which run on Windows, macOS and Linux. In each platform, they use the native API, so the widgets have the look and feel for that platform.
In order to write the Add 2 Numbers app we described below, we ended up looking at realPython.com, tutorialspoint.com, geeksforgeeks.org, and realpython.com. There is also a fairly good tutorial at zetcode.com. The developers maintain a discussion group at discuss.wxpython.org, as well, and you can often find answers on stackoverflow.com.
Really Simple Example
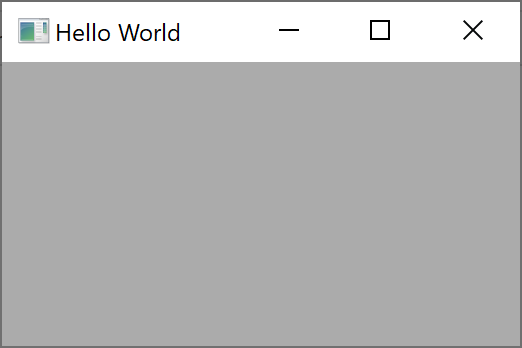
To start with the simples possible example, the wxPython page suggests this easy program to display “Hello world.”
# Import the wxPython package.
import wx
app = wx.App()  # Create an application object.
frm = wx.Frame(None, title="Hello World") # Then a frame.
frm.Show()  # Show it.

# Start the event loop.
app.MainLoop()
It displays the following window, although we reduced the size of the empty gray frame for this screen shot.

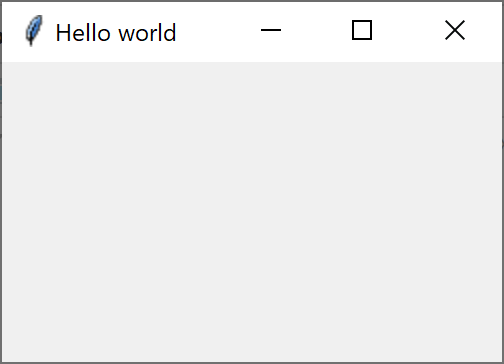
Of course, you can do the same thing in tkinter, in just about the same number of lines:
import tkinter as tk
root = tk.Tk()
root.geometry('250x150')
root.title("Hello world")
root.mainloop()
The window is completely analogous:
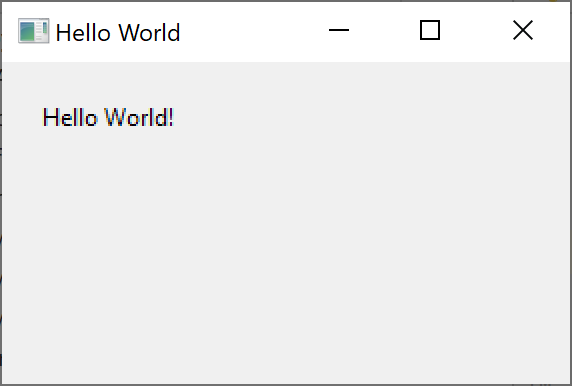
Of course, you can also put the message in a label in the window like this:
import wx
app = wx.App()  # Create an application object.
frm = wx.Frame(None, title="Hello World") # Then a frame. frm.SetInitialSize((300, 200))
panel = wx.Panel(frm)  # contains all the widgets

# create the label and place it at 20,20
st = wx.StaticText(panel, label="Hello World!") st.SetPosition((20,20))
frm.Show()  # Show it.
app.MainLoop()
Note that in wxPython, labels are called wx.StaticText.
You can do the same using tkinter and get pretty much the same result.
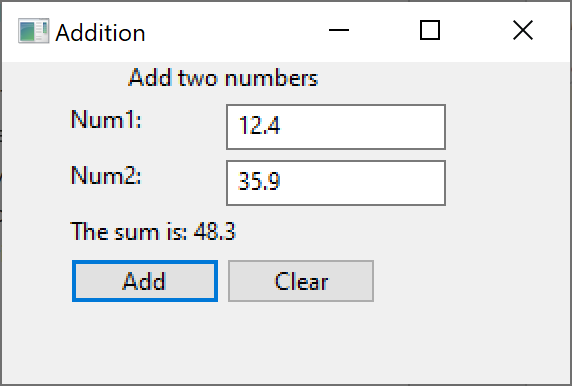
Adding two numbers
We have written this program using many different tools, and here is the resulting window using wxPython.
The main difference in wxPython is that the various layout managers are called sizers, but they do much the same thing. The main sizers are called
BoxSizer
StaticBoxSizer
GridSizer
GridBagSizer
FlexGridSizer
and they are pretty easy to work with, albeit a bit more verbose than in tkinter. Our program consists of four labels (called wx.StaticText), two entry fields, called wx.TextCtrl and two buttons, called surprisingly wx.Button.
In this example, we are going to use the GridBagSizer. You define the size of the grid at the outset, and then place the widgets in the cells of that grid using the coordinate system (x, y).
We start by declaring the sizer to have 5 rows and 3 columns. Our main program is derived from the wx.Frame class”
class AddFrame(wx.Frame):
    def __init__(self):
        super().__init__(parent=None, title='Addition')
        self.SetInitialSize((300, 200))
        panel = wx.Panel(self)  # contains all the widgets
        gbSizer = wx.GridBagSizer(5, 3)  # here is the layout
Here we declare the top label:
# Top row is the label spanning cell 1 and 2
        topLabel = wx.StaticText(panel, label="Add two numbers",
                                size=wx.DefaultSize, style=0)
        gbSizer.Add(topLabel, (0, 0), wx.GBSpan(1, 3),
                                wx.ALIGN_CENTER)
In the second and third rows, we put a label at the left and the entry field to the right of it, in the next cell:
# first label and entry field
        n1label = wx.StaticText(panel, label="Num1: ", size=wx.DefaultSize, style=0)
        gbSizer.Add(n1label, (1, 1), )
        self.num1 = wx.TextCtrl(panel)
        gbSizer.Add(self.num1, (1, 2))

        # second label and entry field
        n2label = wx.StaticText(panel, label="Num2: ", size=wx.DefaultSize, style=0)
        gbSizer.Add(n2label, (2, 1))
        self.num2 = wx.TextCtrl(panel)
        gbSizer.Add(self.num2, (2, 2))
The fourth row contains the label that will have the sum displayed in it.
# sum goes here
        self.sumLabel = wx.StaticText(panel, label= "The sum is",
                   size=wx.DefaultSize, style=0)
        gbSizer.Add(self.sumLabel, (3, 1))
The Buttons
Now, we get to the buttons. You not only place the buttons in the grid as we did with the labels and entry fields, you also have to tell the button what to do when it is clicked. You do this by binding the button to an event. In the case of the Add button, it calls the addClicked event when you click on it:
# create the two buttons
        # add button
        addBtn = wx.Button(panel, label='Add')
        addBtn.Bind(wx.EVT_BUTTON, self.addClicked)
        gbSizer.Add(addBtn, (4, 1))
The addClicked event also receives an event object that we’ll not need for buttons, but it can be useful for other kinds of widgets:
    def addClicked(self, e):
        try:
            value1 = float(self.num1.GetValue())
            value2 = float(self.num2.GetValue())
            self.sumLabel.SetLabel("The sum is: "
                              + str(value1 + value2))
        except ValueError:
            self.sumLabel.SetLabel("Not numbers")
This method retrieves the text from the num1 and num2 fields, converts the to floats and adds them. Then it places the string value of that sum in the sumLabel. Note that the method traps an exception if one of the fields is not numeric, and puts an error message in the sumLabel instead.
The clearButton operates analogously, except that all it does is clear the two entry fields and the sumLabel:
# clear button
        clrBtn = wx.Button(panel, label='Clear')
        clrBtn.Bind(wx.EVT_BUTTON, self.clearClicked)
        gbSizer.Add(clrBtn, (4, 2))
        panel.SetSizer(gbSizer) # set the sizer into the panel
The analogous clearClicked method simply clears those fields
 # clear the fields
    def clearClicked(self, e):
        self.sumLabel.SetLabel('')
        self.num1.SetValue('')
        self.num2.SetValue('')
And that’s the whole basic program. In the next section, we’ll add a little polish to it.
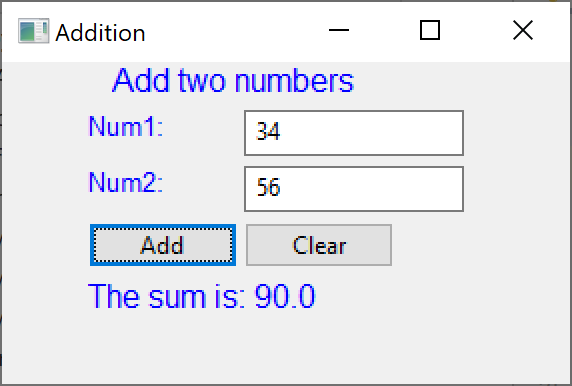
Turning the labels blue
It is sometimes helpful to display the labels in blue, to indicate that this are unchanging fields. While we could set the color of each label individually, it is a lot easier to derive a new BlueLabel class that sets the foreground color to blue:
# derived label class- all labels are blue
class BlueLabel(wx.StaticText):
    def __init__(self, panel,sz, text:str):
        super().__init__(panel,  label= text,
                                size=wx.DefaultSize, style=0)
        font = wx.Font(sz, wx.DECORATIVE, wx.NORMAL, wx.NORMAL)

        self.SetFont(font)
        self.SetForegroundColour('blue')
Note that the SetForegroundColour uses the British spelling. We also include the chance to change the size of the label as well as the color by passing in an integer. So you set the topLabel in the main program as follows:
topLabel = BlueLabel(panel, 12, "Add two numbers")The resulting window with the colored (coloured) labels is shown here:
Command Buttons
It is reasonable to suggest that the class the builds the UI should not be handling the button actions and the functions they control. These really ought to be separate from the main builder class. So what people commonly do is move those methods to a Mediator class that knows about the entry fields and the sum label, and let it handle those functions.
We also should probably not define the action the button binds to in that same builder class. So instead, we create an abstract button class that calls the abstract comd function, and then fill in the actions in the derived button classes.
Our first button is the abstract one, then:
# abstract Button class
class ComdButton(wx.Button):
    def __init__(self, panel, label):
        super().__init__(panel, label = label)
        self.Bind(wx.EVT_BUTTON, self.comd)

    # filled in later in derived classes
    def comd(self, e): pass
Note that the button is bound to the comd method, and thus any derived buttons are automatically bound to their comd methods. Here is the Add Button:
# Add button derived from DButton
class AddButton(ComdButton):
    def __init__(self, panel, med):
        super().__init__(panel, "Add")
        self.med = med    # copy the Mediator reference

    # called by base class
    def comd(self, e):
        self.med.addClicked()
Now, when that button is clicked, it automatically calls the addClicked method of that Mediator class. And similarly, the ClearButton calls the clearClicked method of the Mediator:
# clear Button clears the entyr fields and the result
class ClearButton(ComdButton):
    def __init__(self, panel, med):
        super().__init__(panel, "Clear")
        self.med = med

# called by base class
    def comd(self, e):
        self.med.clearClicked()
The Mediator class simply fills out those simple methods, but keeps the knowledge of these widgets local rather than spread around the program. Note the use of the dataclass decorator to construct the __init__ method automatically.
# The Mediator handles the button, entry field and label interactions
@dataclass
class Mediator():
    num1: wx.TextCtrl
    num2: wx.TextCtrl
    result: BlueLabel

    # the addition is carried out here
    def addClicked(self):
        try:
            value1 = float(self.num1.GetValue())
            value2 = float(self.num2.GetValue())
            self.result.SetLabel("The sum is: "
                             + str(value1 + value2))
        except ValueError:
            self.result.SetLabel("Not numbers")

    # clear the fields
    def clearClicked(self):
        self.result.SetLabel('')
        self.num1.SetValue('')
        self.num2.SetValue('')
Conclusions
The wxPython GUI system is nicely designed and constructed, but as you can see, is closely related in style to the code you would write using tkinter, although the Sizer layouts are a little more baroque. It doesn’t really offer huge simplifications in UI building but is a nice piece of work. It clearly lends itself to implementing the Mediator and Command Design Patterns we illustrate here.
You can download all code from GitHub under jameswcooper/newsletter.
Subscribe to this newsletter so you don’t miss a single Monday’s issue!